How Do You Attach a Lean-To to a Metal Building?
Thinking about adding a lean-to to your metal building? Smart move. It’s one of the easiest ways to grab extra space without going full remodel.
Whether you need room for storage, a shaded work zone, or just a spot to park your toys, a lean-to makes it happen.
The trick is attaching it the right way so it looks clean and holds strong. That’s where a step-by-step plan comes in handy. With the right approach, you’ll upgrade your building without the headaches.
Key Takeaway
- A lean-to is a roofed extension that shares one wall with your metal building.
- It’s affordable, low-maintenance, and adds usable space without major construction.
- Proper planning, permits, and matching materials ensure a seamless fit.
- Follow a step-by-step build: posts → beams → rafters → roofing → trim.
- Avoid mistakes like poor prep, mismatched materials, or skipping permits.
- Safety gear and stable ladder setups are essential.
- Costs range from a few thousand upwards, depending on size and finishes.
How do you attach a lean-to to a metal building?
Set posts, install beams, connect to the building, add rafters, attach roofing, then finish with trim and flashing for a clean, durable fit.
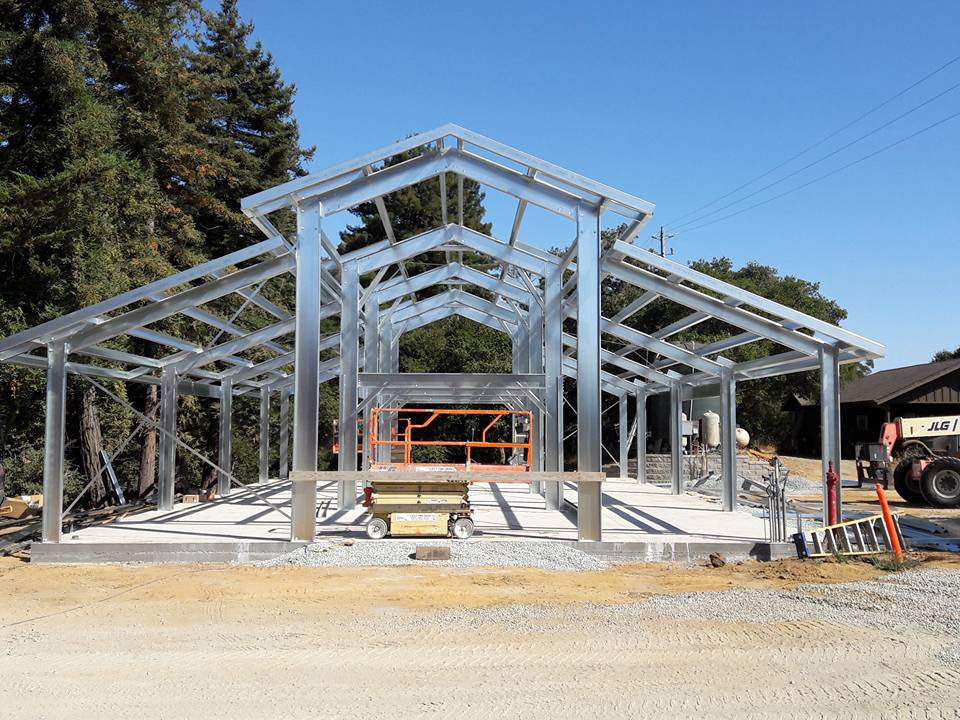
What Is a Lean-To?
A lean-to is the sidekick your metal building didn’t know it needed. Picture a roofed extension that shares one wall with your main structure. Simple, sleek, and low-maintenance.
It’s like adding a shaded patio or covered garage without paying for a full-blown addition. You get usable space that flexes with your lifestyle, whether that’s storing gear, parking rides, or setting up an outdoor hangout.
The best part? Lean-tos don’t mess with the original building’s strength. They’re designed to connect cleanly, keep weather out, and give you extra square footage without the drama of a major remodel.
Think of it as your building’s “bonus level.” It looks good, works harder, and makes your space feel custom without burning through your budget.
Planning Your Lean-To Addition
Before you start grabbing tools, you’ll want a solid plan. A lean-to might look simple, but the right prep saves you cash and headaches later.
First, figure out what you want the space to do. Extra storage? A shaded workshop? Parking for your weekend toy? The purpose drives everything from size to materials.
Next, check your existing metal building. You need to know where support posts, doors, and windows sit so the lean-to lines up clean and doesn’t block access.
Don’t forget the boring but important stuff like permits and local codes. Skipping that step can stall your project before it even starts.
Finally, think about your budget. Factor in roofing, posts, and finishing touches. With a clear plan, you’ll know what’s possible and avoid surprises. A little strategy upfront means your lean-to feels less like a side project and more like a smart upgrade.
Tools and Materials You’ll Need
You don’t need a pro-level arsenal, just the right basics. A measuring tape, level, drill, saw, and wrenches will cover most of the work. Keep safety gear like gloves and goggles handy too.
On the materials side, you’ll want posts, beams, roofing panels, fasteners, and brackets. Match the metal panels to your existing building so the lean-to looks seamless.
Concrete mix for footings is a must if you’re setting posts in the ground. With these tools and supplies ready, you’ll save trips to the hardware store and keep the build running smooth.
Key Preparations Before Installation
Before you start bolting panels, prep is everything. A strong lean-to comes from solid groundwork.
Clear the area next to your metal building. Remove debris, level the ground, and mark where posts will sit. Skipping this step leaves you with uneven footing and headaches later.
Check your building’s structure. You’ll want to confirm the wall can handle the extra load and that you’re not blocking doors, windows, or utilities.
Lay out your posts and beams on the ground before setting anything in place. This gives you a preview of spacing and alignment.
Finally, double-check local codes and permits. Getting approval now keeps inspectors off your back mid-project. With the site ready and the plan squared away, installation will feel more like connecting the dots than solving a puzzle.
Step-by-Step Guide to Attaching a Lean-To
Building a lean-to isn’t rocket science, but following a clear sequence keeps the job smooth. Here’s how to pull it off without chaos.
1. Set the posts
Start by digging holes for your posts and pouring concrete footings. Make sure each post is plumb and spaced evenly. This creates the backbone for your lean-to.
2. Install the header beam
Once the posts are set, attach a horizontal header beam across the top. This ties the posts together and gives your roof panels something solid to rest on.
3. Connect to the main building
Secure a ledger or side beam directly to your metal building. This piece anchors the lean-to and keeps everything stable. Check for level so your roofline doesn’t slope awkwardly.
4. Add rafters or purlins
Run rafters from the ledger to the header beam. Space them evenly, and fasten them tightly. These support the roof panels and give the structure strength.
5. Attach roofing panels
Lay your roofing panels starting at one end, overlapping them for water drainage. Screw them into the rafters with proper fasteners. Match your existing building’s panels for a seamless look.
6. Secure trim and flashing
Install flashing where the lean-to roof meets your main building. This keeps out rain and snow. Add trim to finish the edges cleanly.
7. Check alignment and tighten connections
Before calling it done, step back and eyeball everything. Tighten any loose bolts, make sure the roofline is straight, and confirm panels overlap properly.
That’s it. No guesswork, no shortcuts. By pacing it step by step, you end up with a lean-to that feels built-in, not slapped on. Done right, it looks sharp, adds usable space, and holds up against the elements for years.
Common Mistakes to Avoid
One of the biggest slip-ups is skipping the prep work. If the ground isn’t level or posts aren’t square, your lean-to will look crooked and feel shaky.
Another mistake is mismatching materials. Using different roofing or trim makes the addition look like an afterthought.
Don’t cheap out on fasteners or flashing. Weak screws and poor sealing invite leaks and rust.
And finally, ignoring permits can shut your project down fast. A little paperwork now saves major headaches later. Avoid these pitfalls, and your lean-to will look clean, solid, and built to last.
Safety Considerations
Safety gear isn’t optional. Gloves, goggles, and sturdy boots keep you protected while handling tools and panels.
Watch your ladder setup unstable footing is where most accidents happen. If you’re working with heavy beams or roofing, get a buddy to help instead of going solo.
And don’t rush. Double-check each connection before moving on. A careful pace keeps you safe and ensures the lean-to holds strong.
Cost Breakdown of a Lean-To Addition
A lean-to is budget-friendly, but costs still stack up. Materials like posts, beams, and roofing panels usually make up the bulk of the price. Expect to spend more if you want matching finishes for a seamless look.
Labor is another factor if you’re not going fully DIY. Add in permits, concrete for footings, and hardware like fasteners and flashing.
On average, smaller lean-tos can run a few thousand, while larger builds push higher. Planning your budget upfront keeps surprises from hitting your wallet mid-project.
Conclusion – Making the Most of Your Lean-To
A lean-to isn’t just extra square footage, it’s a smart upgrade that works hard for your space. With the right prep, tools, and step-by-step approach, you can build one that feels seamless and solid.
If you’re ready to start your next building project, explore Metal Building options from QE Buildings or get in touch with us for expert support.
When done right, it enhances functionality, elevates style, and seamlessly integrates with your existing structure. Think of it as your cheat code for affordable expansion that delivers long-term value whether you’re exploring how much does a 40×80 metal building cost or planning how to finish the inside of a metal building for a complete transformation.