Step-by-Step Guide: Installing Your Metal Building Kit
Installing your own metal building kit can be a rewarding project that saves you money and gives you full control over your structure’s setup. Whether it’s for a garage, workshop, or storage space, knowing how to handle each step ensures your building is strong, safe, and long-lasting. In this detailed guide, we’ll walk you through the entire process, from preparing the site to sealing and inspecting your new steel structure.
Preparing the Building Site
Before you start assembling your steel building frame, it’s crucial to get the site ready. Begin by selecting a level area that offers proper drainage and accessibility for vehicles and equipment. Clear any debris, trees, or uneven surfaces.
Next, focus on metal building foundation prep. Most metal building kits are designed for a concrete foundation, which should be leveled and cured before installation. A solid foundation helps maintain stability and prevents water damage over time. Proper preparation here can save you costly repairs later.
Tools and Materials Required
Having the right tools and materials on hand makes a big difference in the speed and safety of your assembly. Some basic tools include:
- Adjustable wrenches and screwdrivers
- Cordless drill with extra batteries
- Level and measuring tape
- Safety gloves, helmets, and goggles
- Ladder or scaffolding
- Sealants and weatherproofing materials
Check your kit’s inventory list to ensure all components, like wall and roof panels, bolts, and anchors are included before you begin.
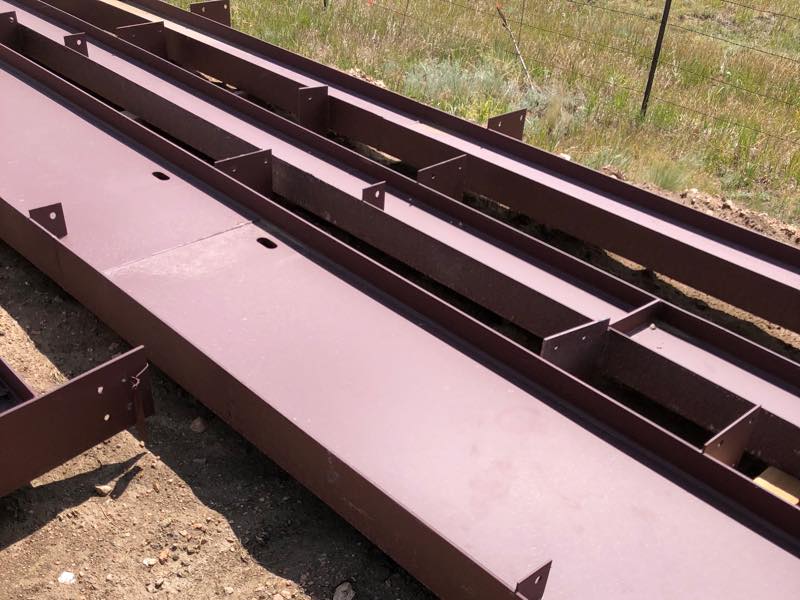
Assembling the Steel Frame
Once your site is ready and your tools are set, start with steel structure assembly. The steel frame is the skeleton of your building and determines the structure’s strength.
Follow these general steps:
- Lay out and identify all framing components.
- Assemble and secure the main columns and beams as directed.
- Double-check alignment using a level to ensure the frame is square.
- Tighten bolts gradually to avoid misalignment.
This process forms the foundation of your structure, setting the stage for roof and wall installation.

Installing Roof and Wall Panels
Next comes attaching the roof and wall panels to the steel building frame. Begin with the roof panels, as they provide overhead protection during construction. Position panels correctly to prevent leaks and ensure they overlap according to the manufacturer’s instructions.
After securing the roof, install the wall panels starting from one corner. Use self-tapping screws to fasten the panels and make sure they’re evenly aligned. When done right, this step adds both durability and insulation to your building.
Securing Doors and Windows
With your walls and roof in place, it’s time to install doors and windows. These components improve ventilation, access, and natural lighting.
Follow the installation guide that comes with your metal building kit to fit frames tightly and seal around the edges. Properly installed doors and windows also play a key role in maintaining your building’s energy efficiency and overall comfort.
Sealing and Weatherproofing Structure
Weatherproofing is essential to protect your structure from leaks and corrosion. Apply high-quality weatherproofing materials to all seams, edges, and joints. This includes caulking around panels, applying sealant to roof screws, and checking that the insulation is properly installed.
For regions with extreme weather, consider additional protective coatings or insulation layers. Taking this extra step ensures your metal building kit stays durable through all seasons.
Final Safety and Quality Checks
Before calling the job complete, perform final safety and quality checks. Inspect all bolts, panels, and joints to confirm they’re secure. Make sure the structure is level and stable.
Be sure to review local building codes or schedule a professional inspection to confirm compliance. A detailed quality check prevents future issues and guarantees long-term strength—whether you’re comparing How Much Does a Metal Building Kit Cost or researching how much does a metal building cost before starting your project.
Conclusion
Installing a metal building kit doesn’t have to be complicated when you follow a structured plan. From site preparation to weatherproofing, every step contributes to a solid, long-lasting structure that suits your needs.
If you’re ready to start your next building project, explore Metal Building options from QE Buildings or get in touch with us for expert support.
FAQs
1. What tools do I need to install a metal building kit?
You’ll need basic hand tools like wrenches, drills, ladders, levels, and safety gear, along with sealants for weatherproofing.
2. How long does it take to assemble a metal building kit?
Depending on size and complexity, most kits take between a few days to a couple of weeks to install.
3. Can I install the kit myself, or do I need professionals?
Many DIY enthusiasts can install a kit using the provided instructions, though larger structures may require professional help.
4. How do I prepare the site for a metal building kit?
Choose a level area, clear debris, and pour a stable concrete foundation before starting assembly.
5. What safety precautions should I follow during installation?
Wear safety gear, use ladders carefully, and double-check all bolts and joints during assembly to ensure a secure structure.